What Equipment Is Needed to Start Voice Acting?
Getting started in voice work can feel overwhelming, but the truth is, you don’t need a huge setup to begin. You only need a few key pieces of equipment and a willingness to learn.
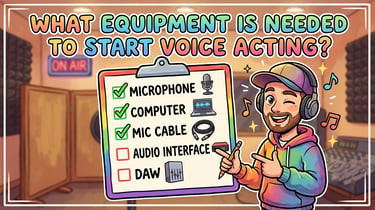
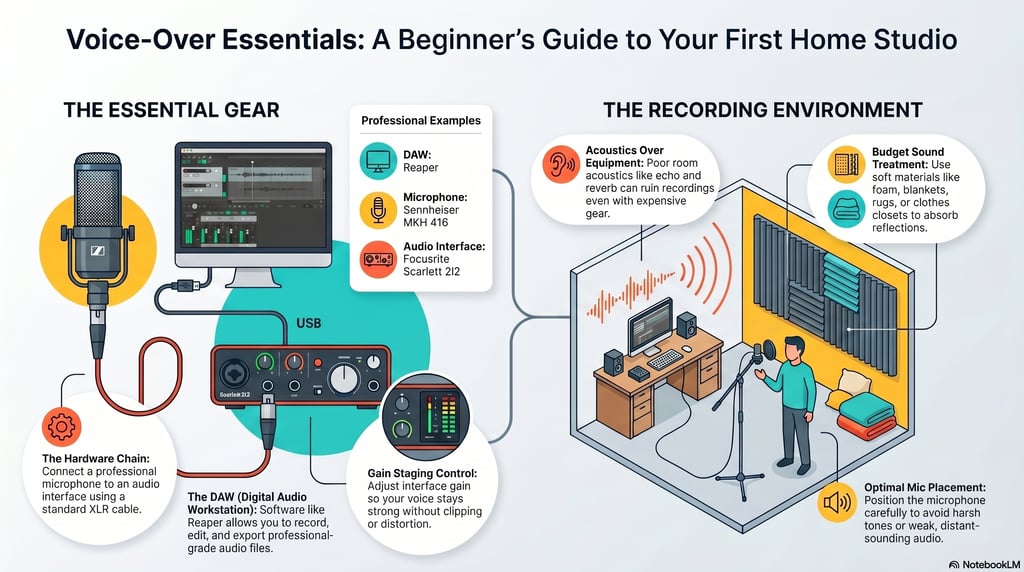
At the most basic level, every voice-over artist needs three things: a DAW (digital audio workstation), a microphone, and an audio interface. These tools allow you to record, edit, and deliver clean audio.
For example, I use Reaper as my DAW. It’s powerful, flexible, and beginner-friendly once you get used to it. For my microphone, I use the Sennheiser MKH 416, which is known for its clarity and professional sound. My interface is the Focusrite Scarlett 2i2, which connects the microphone to the computer and allows me to control gain levels. Everything can be purchased at a local music shop, online stores like Amazon or Sweetwater, or you can search on a secondhand marketplace like eBay.
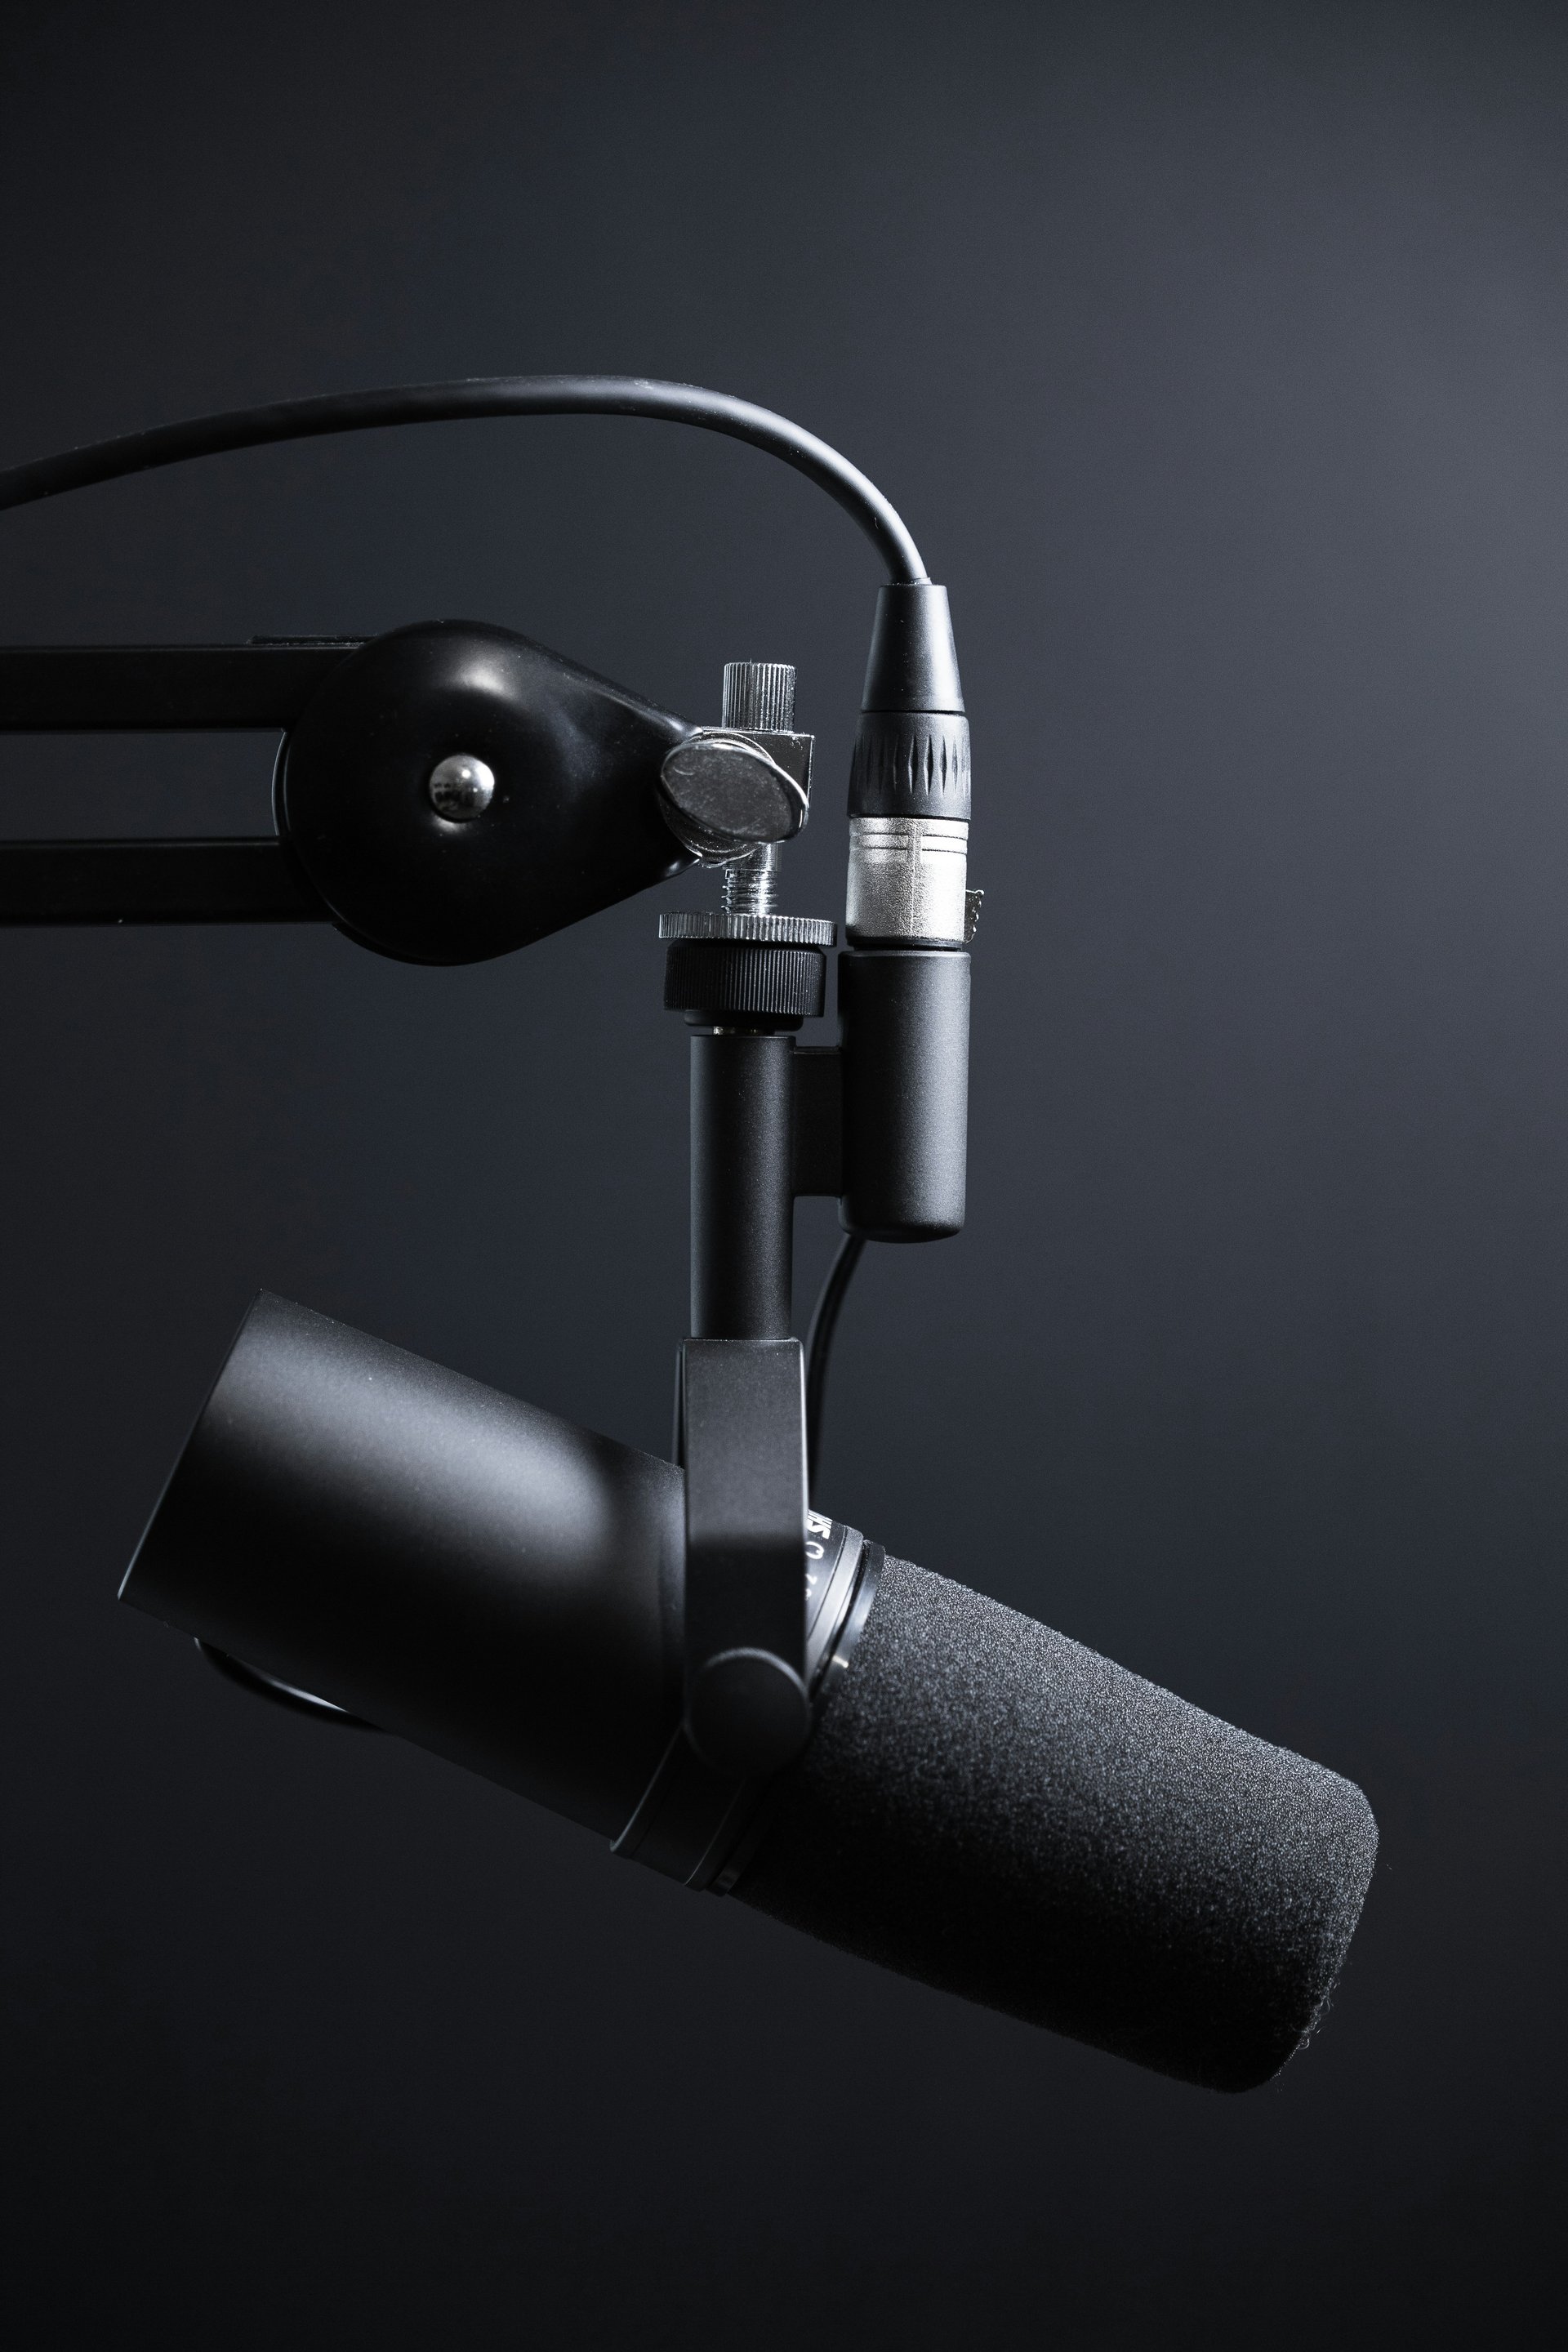
You’ll also need an XLR microphone cable to connect everything. Once you have those pieces, you’re ready to start recording.
That said, there is a learning curve. You’ll need to learn how to use your DAW, including recording, editing, and exporting audio. You’ll also need to understand gain staging. This means adjusting the gain knob on your interface so your voice is clear and strong without clipping or distortion.
Mic placement is another important factor. Positioning the microphone correctly can make a big difference in how your voice sounds. Too close, and you may get harsh tones or unwanted noise. Too far, and your recording may sound weak or distant.
But here’s something many beginners overlook: your room matters just as much as your equipment.
You can have the best gear in the world, but if your room has poor acoustics, your recordings will sound unprofessional. Echo, reverb, and background noise can ruin an otherwise great performance. That’s why it’s important to treat your space, even in simple ways.
You don’t need to spend a lot of money. Adding soft materials like foam panels, blankets, or rugs can help reduce reflections. If you don’t have access to proper treatment, a closet full of clothes can work surprisingly well. The goal is to create a space that absorbs sound rather than reflecting it.
As you grow in voice acting, you’ll refine your setup and improve your sound. You may upgrade equipment, learn new editing techniques, and develop a workflow that fits your style.
Many beginners also look for ways to find voice-over work, but the best first step is simply to start recording. Practice reading scripts, experiment with your setup, and get comfortable hearing your own voice.
You don’t need perfection to begin. You just need to start.

Listen to My Work
Want to hear my work in action? Take a listen to my latest projects, including audiobook performances, voice-over work, and creative audio content. As an audiobook narrator, I’m always working to improve my performance, storytelling, and production quality with every project.
👉 Check out my audiobook and featured voice work here.
Let’s Work Together
If you’re interested in voice acting, demo production, or creative collaboration, feel free to reach out. I’m always happy to connect with other creatives and work on exciting projects.
👉 Contact me and let’s create something great together.
Related Articles
Looking for more tips on voice acting, recording, and creative audio work? Check out some of the related blog posts below for helpful advice on demo reels, recording equipment, audiobook narration, and getting started in the world of voice over.
👉 Explore more articles and continue building your skills as a voice actor and creator.